Wind almost never arrives as a single fact. It has a push and it has a source, and the two together decide whether the afternoon is pleasant, whether the sprayer stays in the shed, and whether the washing dries or ends up in the hedge. That is why the two oldest instruments in rural weather reading keep their places on barns and masts: the anemometer counts the push, the weather vane names the source. Ask which one tells you more and the honest answer is that you are asking the wrong question. You can still choose wisely, though, and you can get a great deal more out of either by knowing what it cannot do.
Two instruments, two kinds of information
An anemometer measures speed. Depending on the model it reports in metres per second, kilometres per hour, miles per hour, knots or Beaufort, and better ones also hold a maximum gust. A weather vane measures direction only: the compass point the wind is coming from, which is the convention everywhere, so a "westerly" blows from the west toward the east.
The confusion usually starts in the catalogue. Many inexpensive home weather stations combine a three-cup rotor with a vane on the same spindle and call the whole assembly an anemometer. That is fine as a description of the package, but the two halves still do separate jobs, and each has its own weaknesses when it comes to siting and calibration. Treat them as two instruments that happen to share a pole.
An anemometer answers "how much"
Speed is the measurement you need whenever a threshold matters. A knapsack sprayer on a sloping field is the classic case: too much breeze and the drift goes where you did not intend, too little and the inversion holds the mist low and still. Product labels normally state a maximum wind speed for application, so follow the label and use the anemometer to check rather than guess. The same logic applies to lighting a burn pile, to opening polytunnel vents before the内部 temperature climbs, and to deciding whether a sheet of roofing felt can be handled by one person on a ladder.
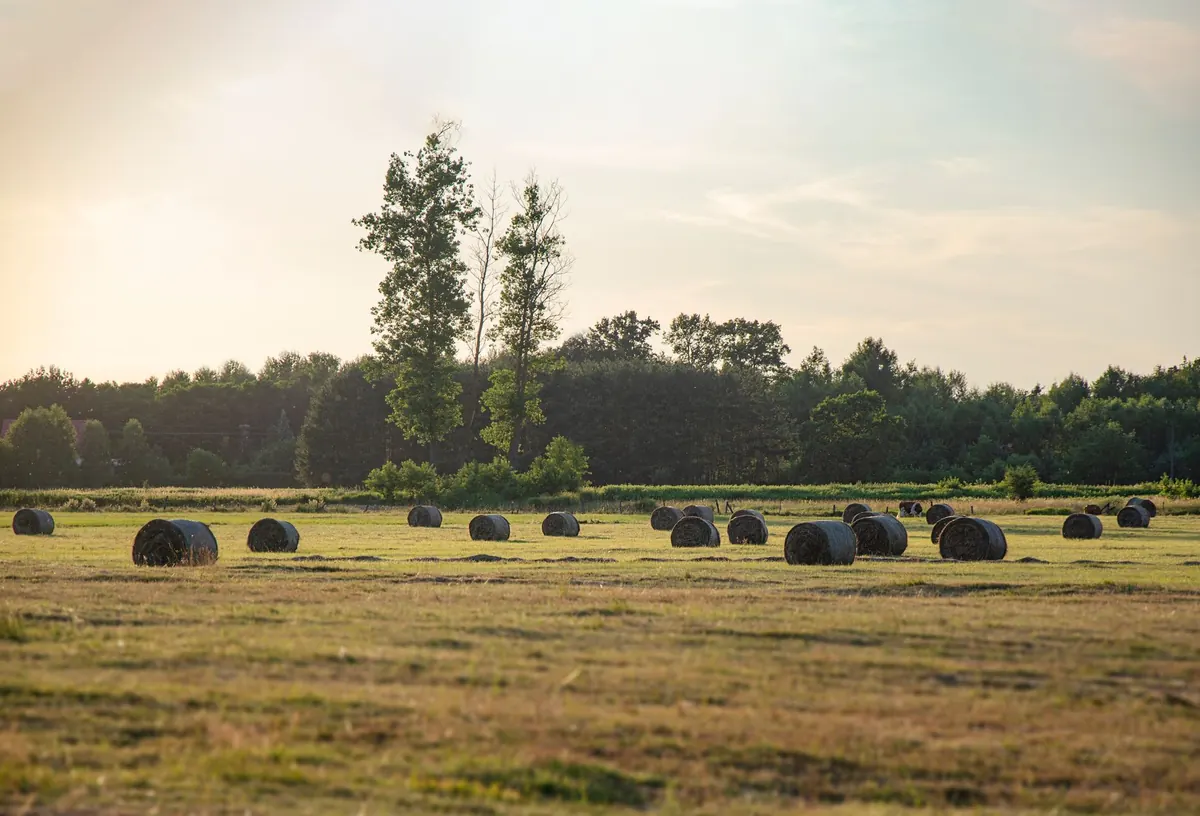
For drying, speed matters more than most people expect. Hay that felt "nearly there" at teatime can stall overnight if the air goes still and humid; grass on a wire fence after a windy morning is a different proposition from the same grass under a dead calm. A quick reading, taken at roughly the height of the crop rather than at head height, tells you whether the day is actually working for you.
Cup, propeller or ultrasonic
Cup anemometers are robust, cheap and reasonably accurate once they spin freely; check them for spider webs and grit in the bearing, which is the most common cause of a lazy reading. Propeller types respond faster to gusts and are popular on small masts. Ultrasonic units have no moving parts and read very light air well, which is useful in a frost hollow where the interesting event is a drift of almost nothing — but they cost more and need a steady power supply.
A weather vane answers "from where"
Direction is the part of the picture that lets you forecast without a screen. A shift in the wind is often the first visible sign that a front is passing; a backing or veering vane tells you what the next few hours are likely to bring long before the barometer catches up. In winter, a hard north or north-easterly after rain usually means clearing, colder air and a bright, dry bite; a moist south-westerly means the opposite.
Direction also tells you where to put things. If the prevailing winter wind comes from the west-southwest, that is the side of the yard that needs the shelter belt, the bale stack needs a weighted tarp on, and the trailer of hay should not be parked. Livestock notice this faster than we do: watch which corner of a field the cattle turn their backs to and you will learn your own farm's wind rose in a season.
There is one more trick that a vane makes obvious and a number does not. Cold air drains downhill at night, so on a still, clear evening the vane may show almost nothing at head height while the ground frost gathers in the low corner by the gate. A vane mounted at two metres will not tell you that. Your boots will.
Reading the pair together
Neither instrument is much use in isolation once you get into the habit of pairing them. Some combinations worth learning to recognise:
- Fresh south-westerly with rising gusts. Mild, moist, changeable. Expect showers within hours; hold off on spraying and on anything that needs a dry window.
- Steady north or north-east, dry air. Good drying, cold nights, sharp visibility. Ideal for hedge cutting and for anything that involves moving loose material.
- Light and variable, no clear direction. Often the hours before or after a change, and the worst conditions for drift. Fog is a common companion in autumn.
- Strong wind with a sudden veer. The classic signature of a squall line. Secure loose sheeting and check polytunnel doors.
The siting mistakes that spoil both
Most disappointing wind readings are not the instrument's fault. Turbulence around buildings and trees produces direction readings that swing wildly and speed readings that are too low in some spots and far too high at the gable end. A few rules to work by:
- Mount as high as you reasonably can, and well clear of the nearest obstacle. The rougher the surrounding ground, the further away you need to be for clean air.
- Avoid roof edges, corners and the gap between two buildings, all of which accelerate and twist the flow.
- Align the vane to true north at installation with a proper bearing, not with the sun and a guess. Record it somewhere so you can check it again next year.
- Keep the mast vertical and the rotor level; a leaning pole can bias a vane several points.
- Note the height of the sensor in your log. A reading at three metres and a reading at ten are not comparable.
A ten-minute daily routine
- Read at the same time each morning, before the sun has had a chance to build the valley breeze.
- Write down speed, direction and the gust figure if your instrument has one. Three columns in a notebook is enough.
- Add one line of plain description: sky, whether the grass is wet, whether smoke is rising straight.
- Read again in the late afternoon. The change between the two readings is where the useful information lives.
- At the end of the month, look for the pattern rather than the individual numbers.
If you are buying only one
Start with an anemometer if your decisions hinge on thresholds: spraying, ventilating, lighting fires, handling sheets and covers. It is the instrument that stops you guessing at a number that matters. Start with a weather vane if your interest is forecasting and layout — where the shelter goes, which paddock gets the wind, when the weather is about to turn. It costs less, needs no power and never goes flat.
Better still, buy a combined unit and use both halves properly: mast it high, clear of the buildings, log it daily for a season, and you will end up with something no app can give you — a working knowledge of how wind behaves on your own ground. That local picture, built from two simple instruments and a notebook, is the most reliable rural forecast you will ever own.
Photo: FrankyFromGermany / Pixabay