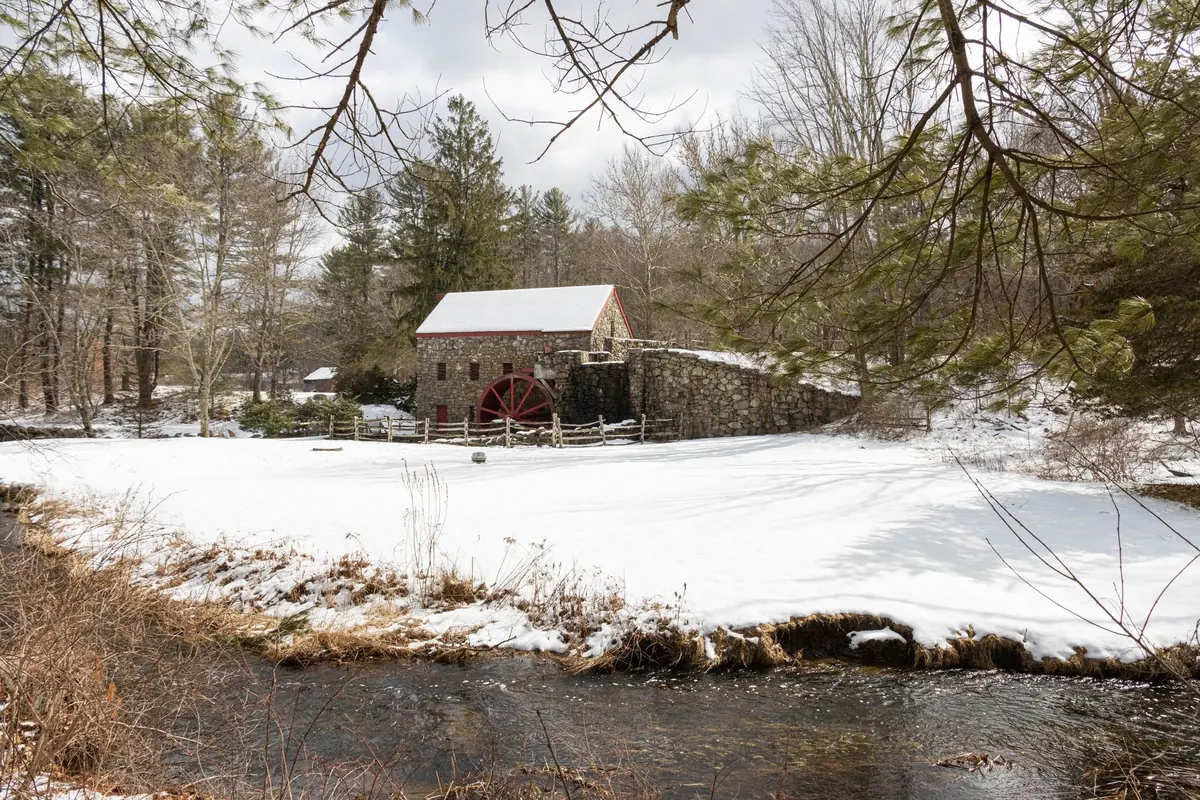
An old mill has spent its whole life beside water, and water leaves a memory in stone. Walk into almost any disused mill and the same two problems turn up: a wall that is wet from the top down, and a wall that is wet from the ground up. Everything else — the crumbling pointing, the flaking render, the smell in the wheel chamber — usually follows from one of those two.
The good news is that most of the work is unglamorous and cheap. Cleaning a gutter. Lowering a path. Repointing a joint with the right mortar instead of the wrong one. What follows is a practical order of attack, from the first inspection to the night the storm arrives.
Start With a Slow Walk Around the Building
The most useful habit you can adopt is a scheduled walk-round with a notebook, done four times a year and always once in steady rain. Wet weather shows you things a dry day hides: where water actually runs, which gutter overflows, which downpipe misses its shoe. Start high and work down.
- The ridge and roof slopes. Look for slipped slates or tiles, sagging lines, moss in the valleys. Binoculars save a ladder climb.
- Chimneys, valleys and flashings. Lead and mortar fillets at abutments fail quietly. So do the junctions where an extension roof meets the mill wall.
- Gutters, hoppers and downpipes. Cast iron cracks at the joints and cast-iron hoppers block with leaves. Check that every downpipe discharges into a drain or soakaway, not onto the wall base.
- The wall faces. Note stepped cracks following the joints, diagonal cracks at corners, any bulge you can see by eye against a straight edge.
- Ground level and paving. Does the path slope towards the wall? Is the soil banked up over the plinth?
- The wet edges of the site. Wheel pit, leat, tailrace, sluice, any culvert under the building. Silt and debris build up faster than you expect.
- The inside, in the same order. Damp high on a wall points at the roof; damp at the base points at the ground; a cold corner with black mould and no obvious source usually means condensation and poor ventilation.
Photograph everything and keep the pictures with the date. A two-year record of a crack that has not moved is worth more than any amount of worry.
Why Stone Mills Get Damp
Most traditional mills are built of rubble or coursed stone laid in lime mortar, often with a rubble core between two faces. Lime mortar is soft, slightly flexible and vapour-permeable: it lets a wet wall dry inwards and outwards. Cement pointing and cement render break that system. They are harder and less porous than the stone, so moisture trapped behind them finds the stone face instead, and a frost turns that moisture into spalling flakes.
That single fact explains a great deal of what you see on old mills. A wall that has been hard-pointed in cement, painted with an exterior plastic masonry paint and rendered inside with gypsum will hold water like a bucket. Strip away the logic of sealing and you get closer to how the building was designed to work.
It helps to name the damp you are dealing with, because each has a different cure:
- Penetrating damp from roof defects, blocked gutters, cracked render or failed flashings.
- Rising damp where ground levels have been raised above the original damp-proof course, or where there never was one.
- Condensation on cold stone surfaces, especially in sealed-up rooms with no air movement.
- Splash and flood damp at the base of walls, in the wheel pit and anywhere water stands after rain.
Fix the Water Supply Before You Fix the Wall
It is tempting to start with the wall, because the wall is what you can see. Resist that. Repairing masonry while a gutter still overflows is money poured into a leaky bucket.
Begin at the roof. Replace slipped slates, redo failed mortar fillets at abutments, and have lead flashings dressed properly rather than smeared with sealant. Valley gutters are the usual culprit on complex mill roofs; they block with grit and leaves and then overflow straight into the wall head.
Then the rainwater goods. Clear gutters twice a year, in late spring and late autumn. Fit leaf guards to hoppers. Repair cracked cast-iron joints with a proper gutter sealant rather than paint, and check the falls — old gutters sag. Finally, test the underground drainage by running a hose into each downpipe and watching where the water appears. If it appears at the base of the wall, you have found your rising damp.
Pointing That Lets the Wall Dry
Repointing is the job most often done badly, usually with a hard cement mix that looks neat for two years and then wrecks the stone. The principles are simple. Rake out decayed mortar to at least twice the width of the joint in depth, and remove every crumb of loose material. Brush down and dampen the joint so the new mortar does not dry out too fast. Use a lime-based mortar matched in strength and colour to what is there — a moderately hydraulic lime or a lime putty and sharp sand mix, following the supplier's ratio for the grade you choose. Fill the joint fully, finish it with a profile that sheds water, and never spread mortar across the face of the stone.
Work in mild weather, keep the new work damp for a few days and protect it from frost. Always try a small panel out of sight first. If the wall has been rendered in cement, removing it can help a great deal, but take specialist advice and test a patch before committing to a whole elevation.
Ground, Drains and the Wet Edges of the Site
Outside ground level should sit comfortably below the internal floor, ideally two courses below any damp-proof course. Paths and paving should fall away from the building. If a patio has been laid right up to the plinth and sloping inwards, that alone can explain a wet ground floor.
Where ground levels cannot be lowered, a land drain or French drain running around the base, falling to a soakaway or ditch, will take the pressure off. Keep air bricks and sub-floor vents clear. Cut back ivy and creepers, which hold water against the stone and prise open joints. And keep the wheel pit, leat and tailrace clear of silt: a blocked channel does not just flood the pit, it keeps the surrounding masonry permanently wet.
Getting the Building Ready for Storm Season
Autumn is the time to walk the building again with storms in mind. Clear every gutter and hopper, secure loose slates and ridge tiles, and check that flashing is still dressed down. Look at trees within falling distance. Latch window shutters, close and secure doors, and if the mill has a sluice or hatch, decide in advance what position it should be in so that floodwater passes around or through the site rather than into the building.
Keep a small kit ready, because the hour before a storm is the wrong time to start looking for a torch:
- Torch, spare batteries, and a charged phone
- Tarpaulin, rope and bungees for emergency roof cover
- Sandbags or flood bags for low doorways
- Hammer, nails, timber and a crowbar
- Gloves, boots and waterproofs
- Phone numbers for your roofer, electrician and insurer
After the storm, photograph any damage before you tidy it up, and check for movement — new cracks, sagging lintels, displaced stone. If water has reached electrics, keep clear and get a qualified electrician to inspect before anything is switched back on.
Knowing When to Stop and Call Someone In
Most damp and drainage work is within reach of a careful owner. Structural movement is not. Bulging walls, cracked and dropping lintels, a roof that has spread, or masonry undermined at the wheel pit all need a structural engineer rather than another bag of mortar. The same goes for anything involving the electrical installation near water, and for insurance claims, which are far easier to settle when you have dated photographs and receipts.
Do the small things well, in the right order, and an old mill will reward you: dry walls, sound stone, and a building that comes through the winter the way it has come through a hundred others.
Photo: Phil Evenden / Pexels